Simple tools.
Lots of lines.
Depending on my mood and the drawing, the tools can be surprisingly simple. Pencil gets the image into place. Ink makes me commit to it. The paper decides how quickly my hand can move.
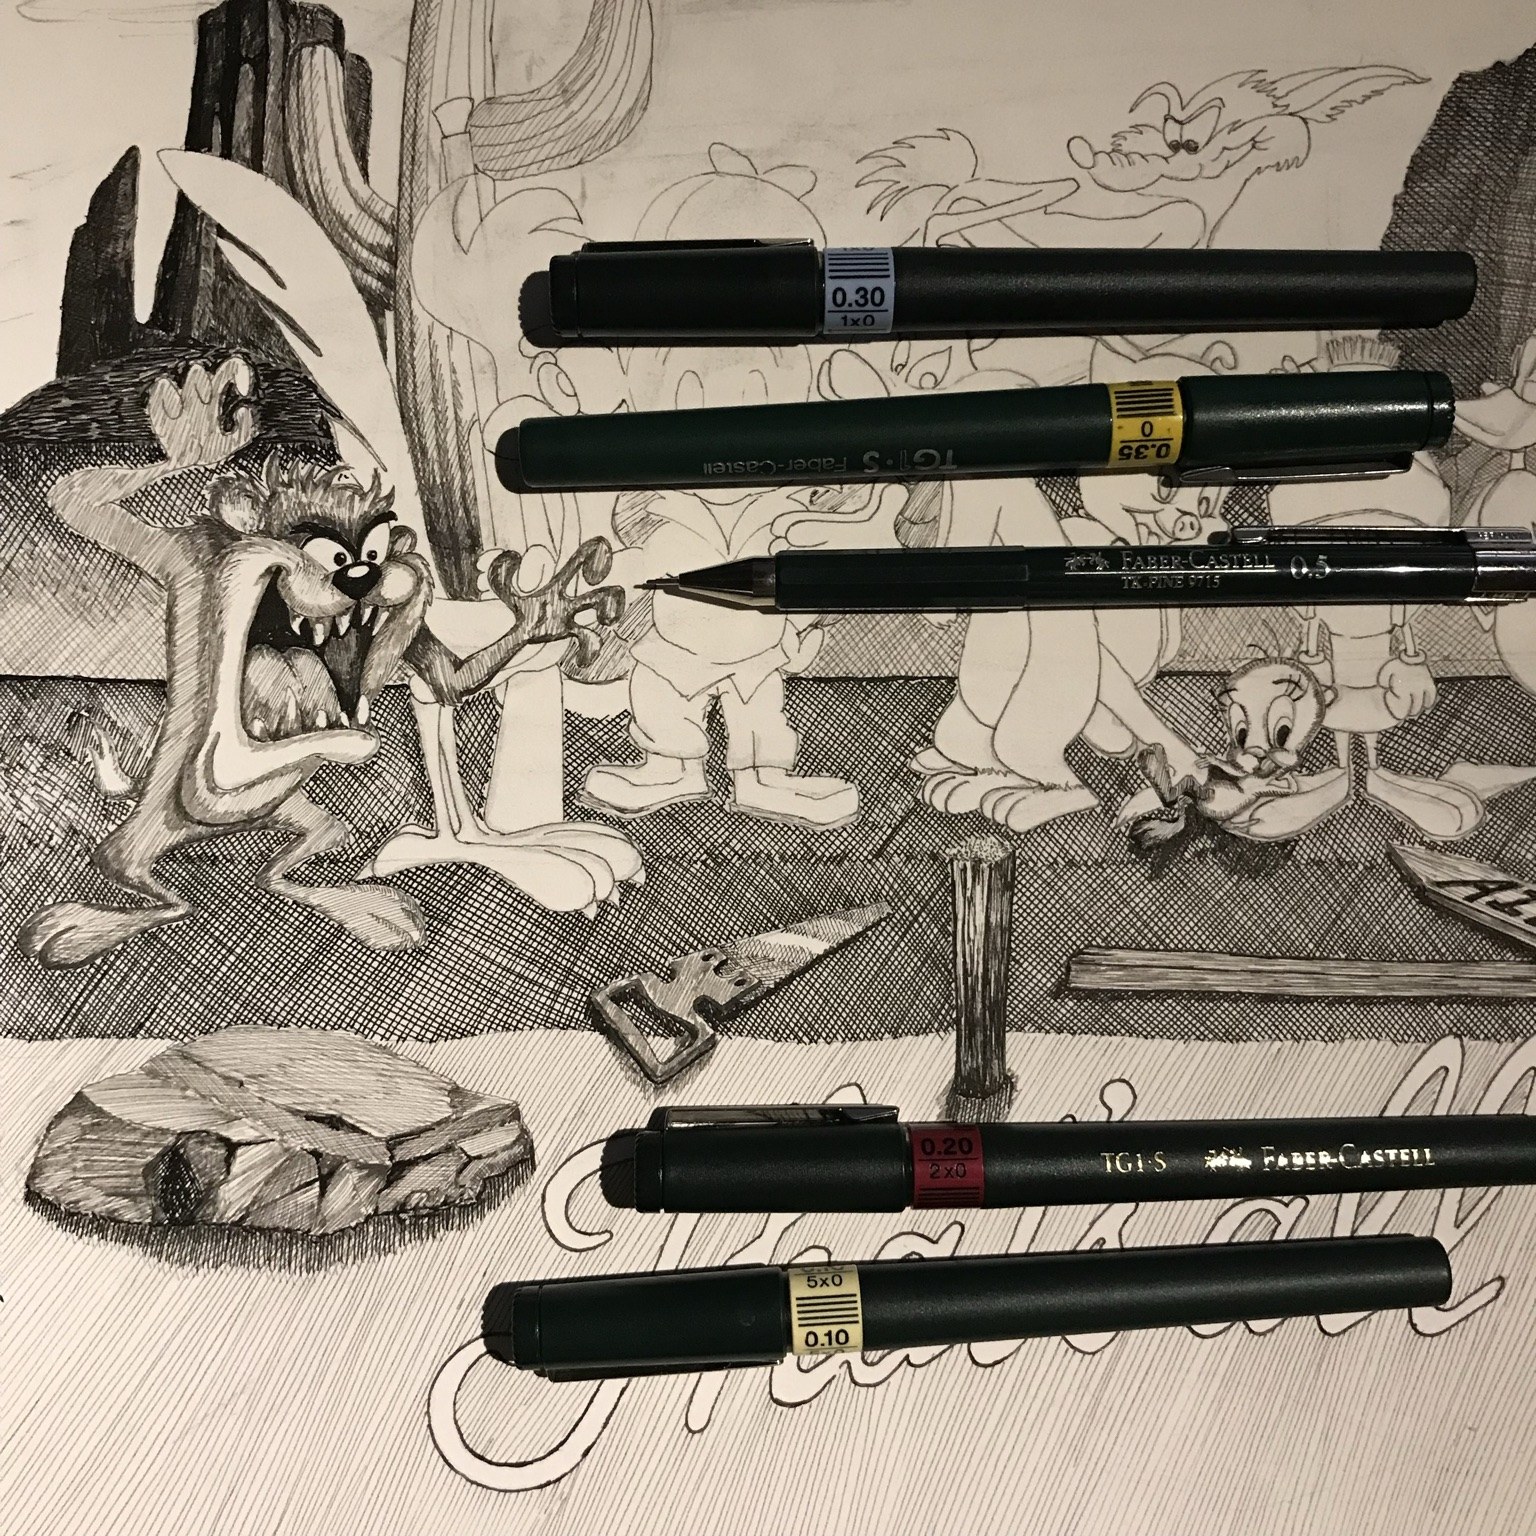
Pencil first.
I need the pencil stage before I start committing things to ink.
I use pencil to map out the image, refine the curves and keep checking the proportions against what I can actually see. It is less about producing a beautiful pencil drawing and more about getting the structure right.
Once the shapes and proportions feel right, I can start inking. That is the point where the drawing changes character completely.
Map
Place the main forms and proportions in pencil.
Refine
Adjust curves, spacing and relationships until they match what I am seeing.
Ink
Commit to the lines, texture and cross-hatching.
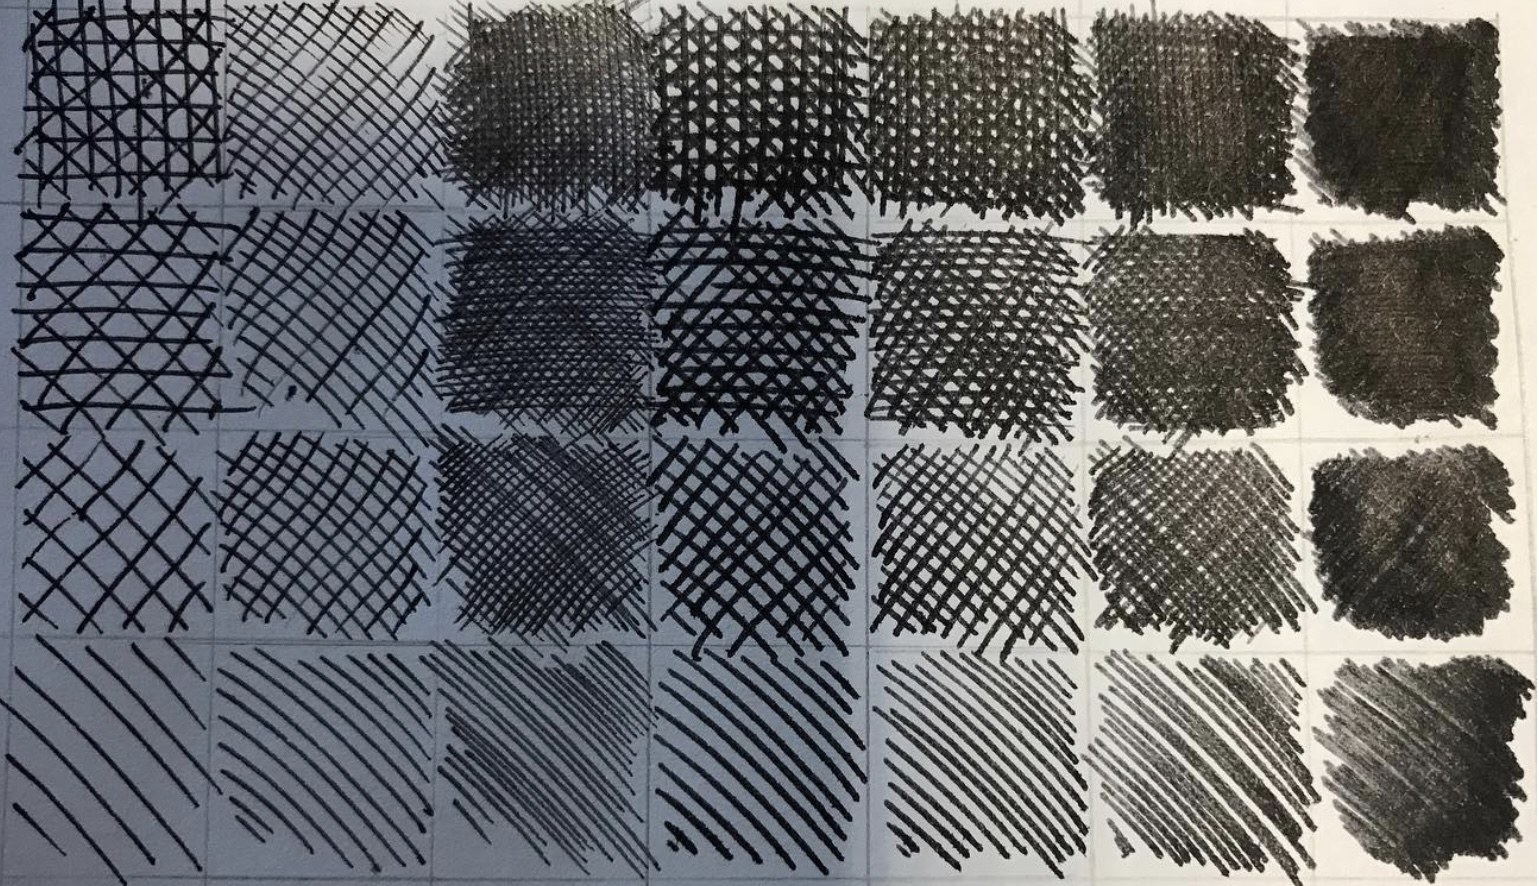
Different line weights and hatching densities behave very differently.
Fountain pens, technical pens — whatever works.
I do not believe a drawing needs an expensive pen to be worthwhile.
Fountain pens
My usual fountain pen can be nothing more exotic than a cheap school model. I prefer cartridges because detailed work gets through ink quickly, so having replacements nearby matters more to me than owning a fancy pen.
A fountain pen also gives me variation. Pressure changes the line, and I sometimes turn the pen over and draw with the back of the nib for finer marks. That is one reason I am quite happy using cheap pens: I can experiment without treating them as precious objects. I have not broken one yet.
Technical pens
I also use Faber-Castell TG1-S technical drawing pens, with different widths for different jobs. I have accumulated so many sets over the years that they should probably last me for the rest of my life.
Sometimes the finest nib is for texture or dense hatching; a broader one can establish a much darker area quickly. The tool changes, but the drawing still comes down to controlling individual lines.
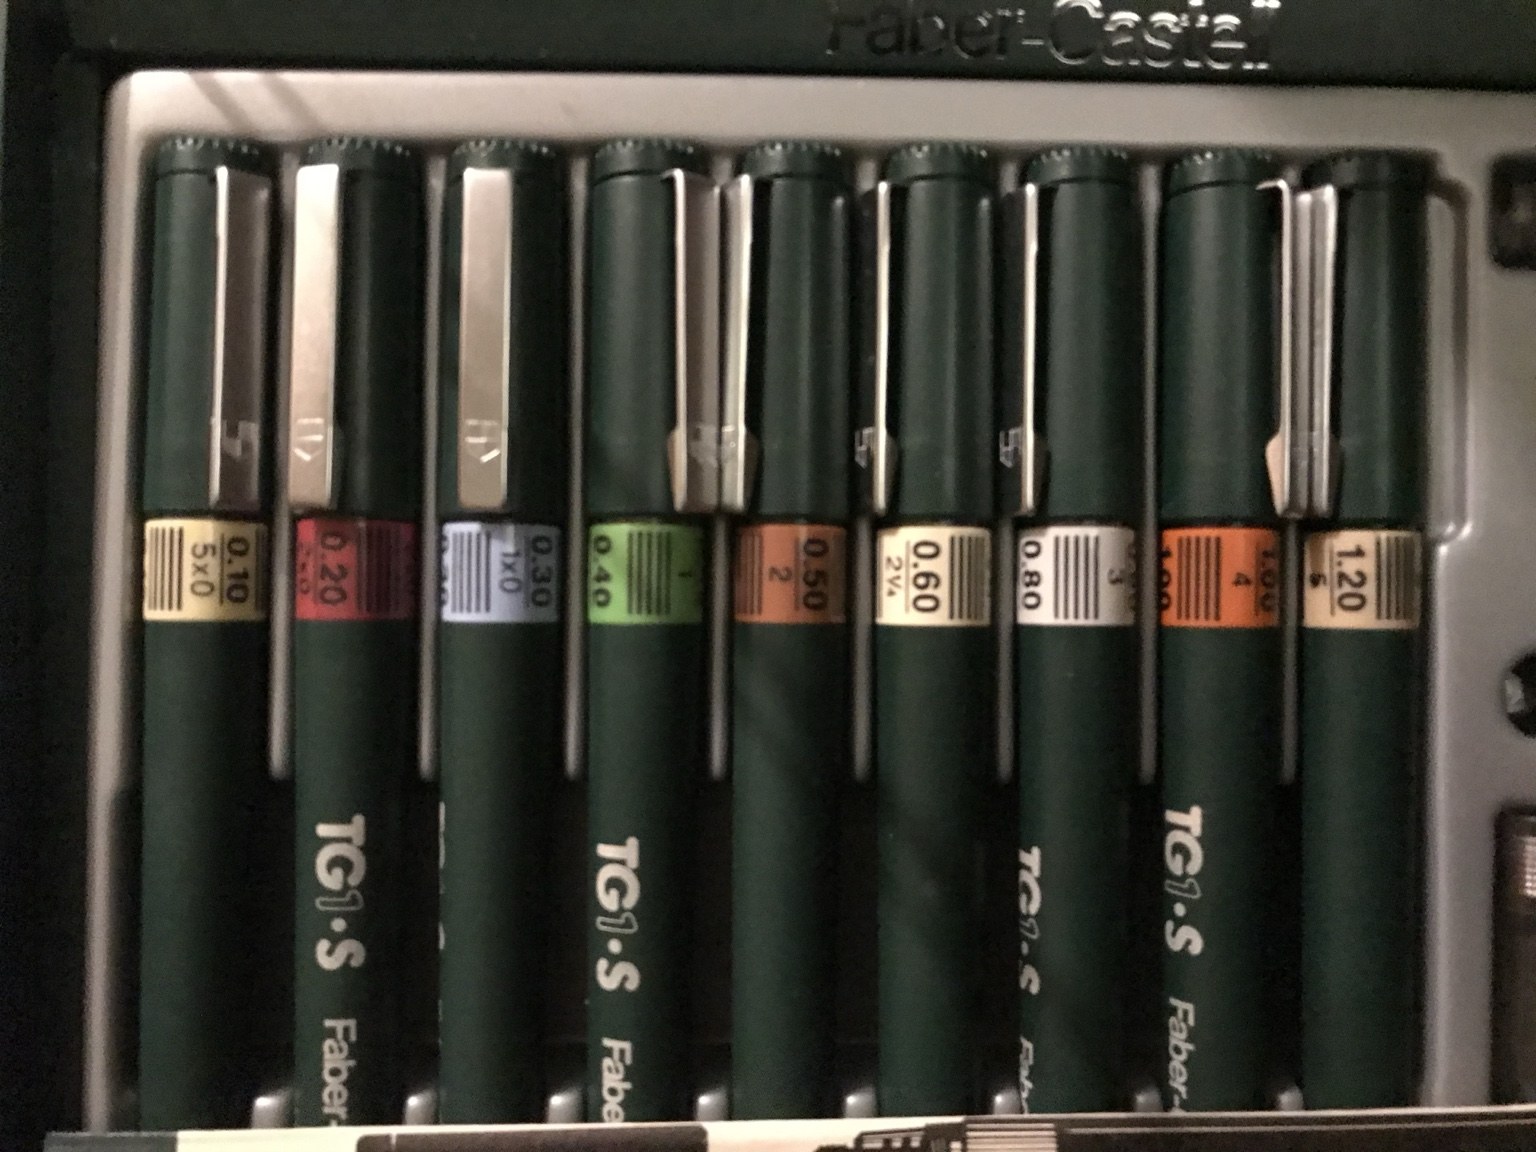
A TG1-S set with a range of nib widths.
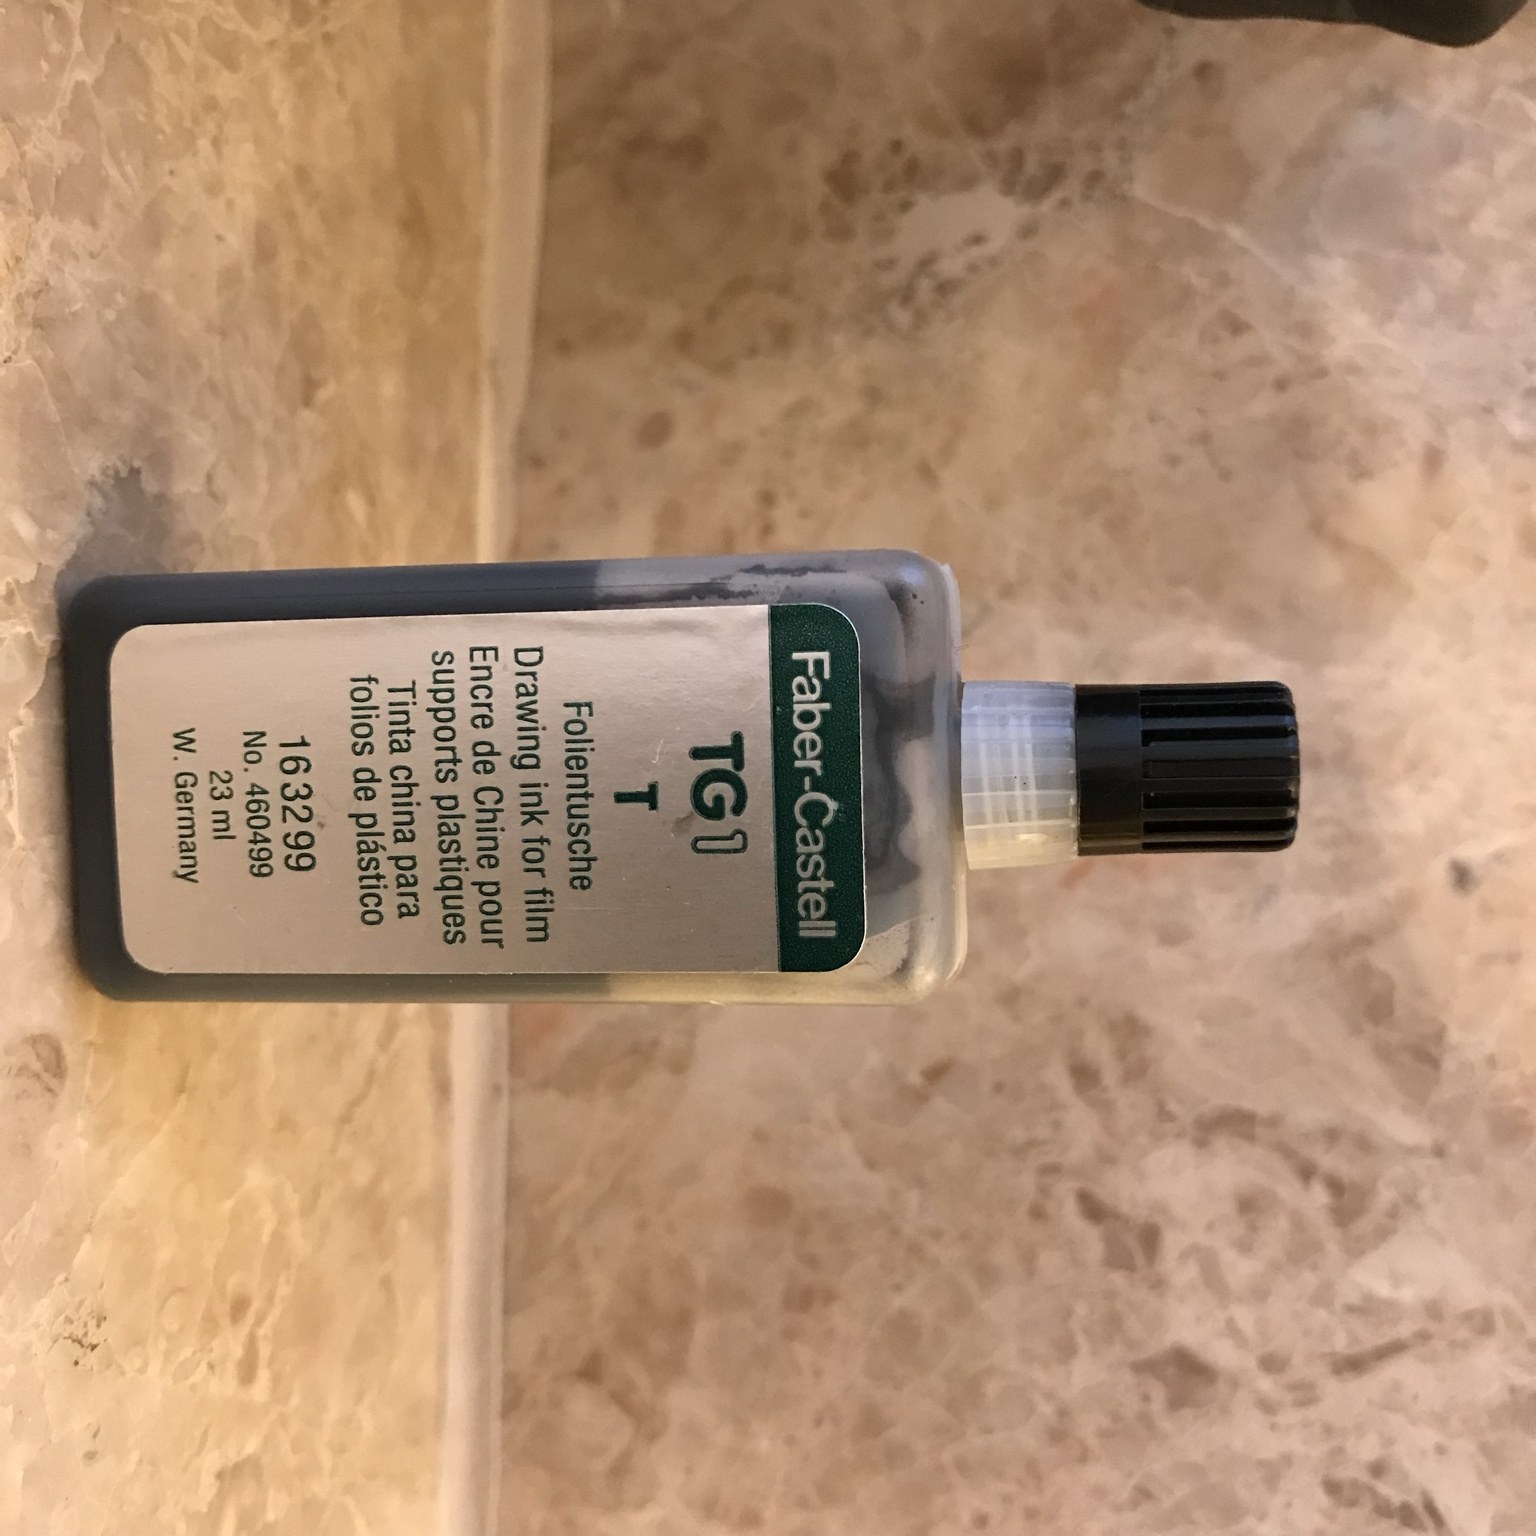
Drawing ink for the technical pens.
I may have enough pens now.
Possibly.
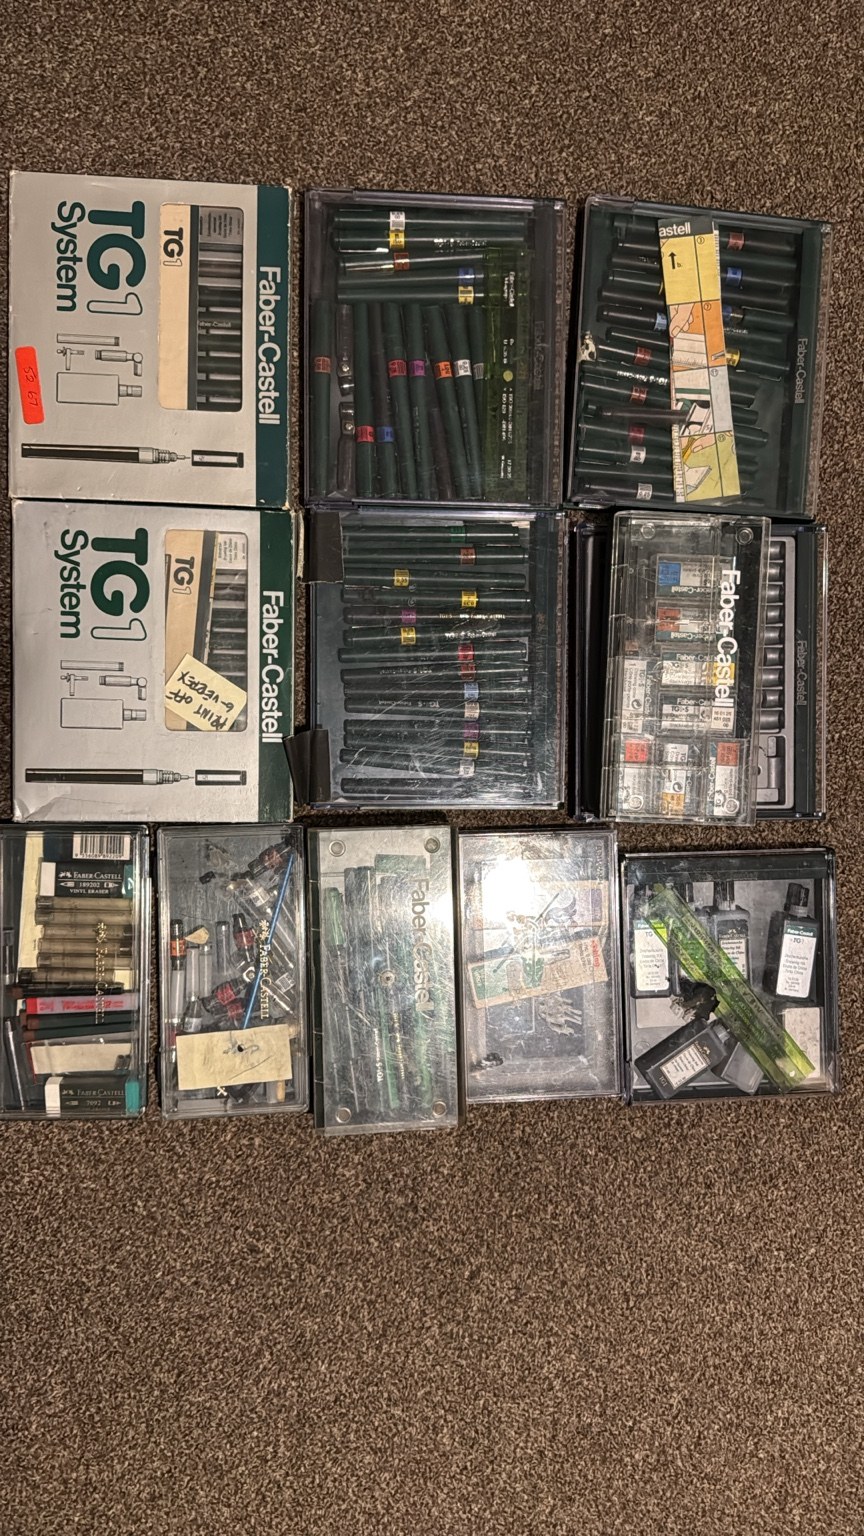
The accumulated TG1-S collection.
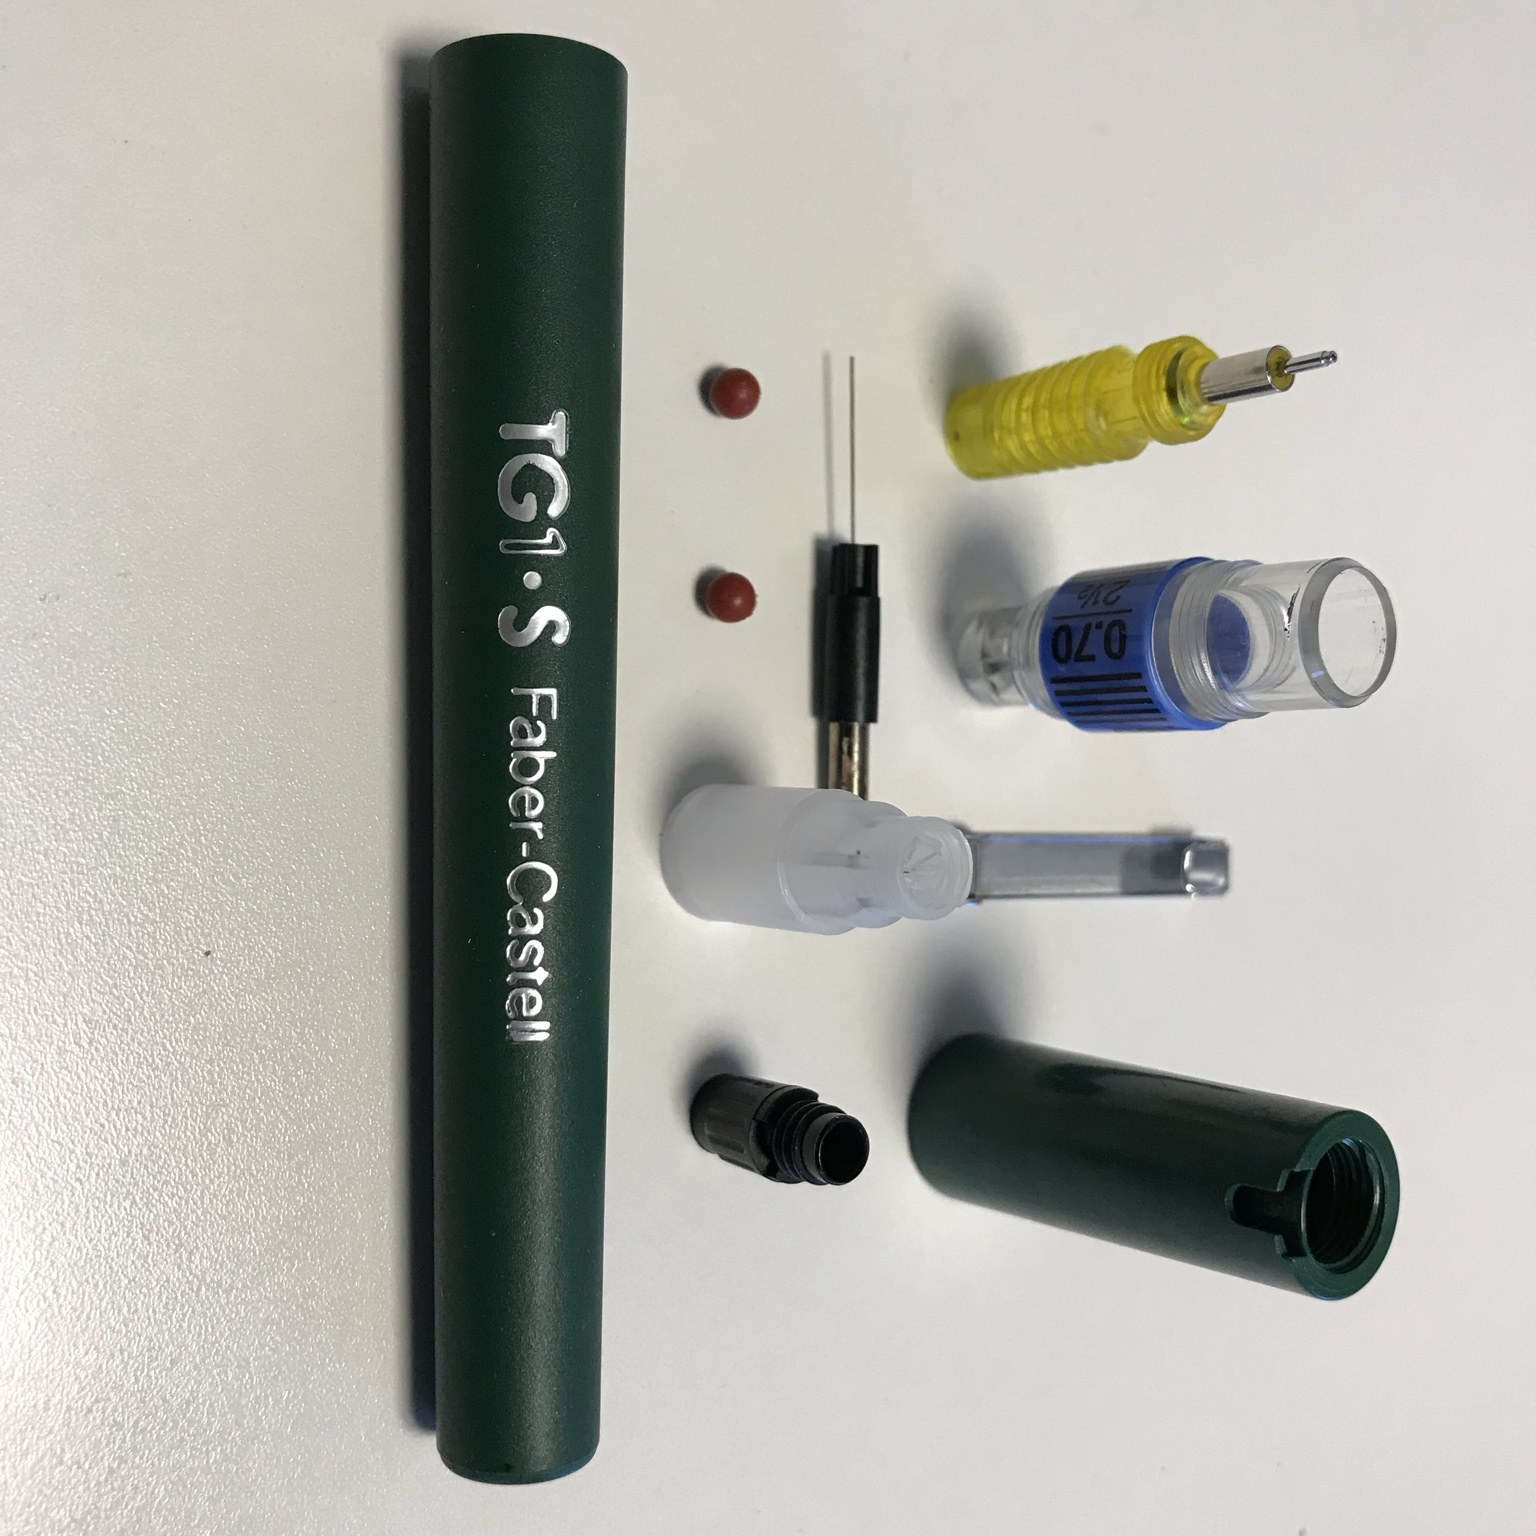
The working parts are simple, precise and replaceable.
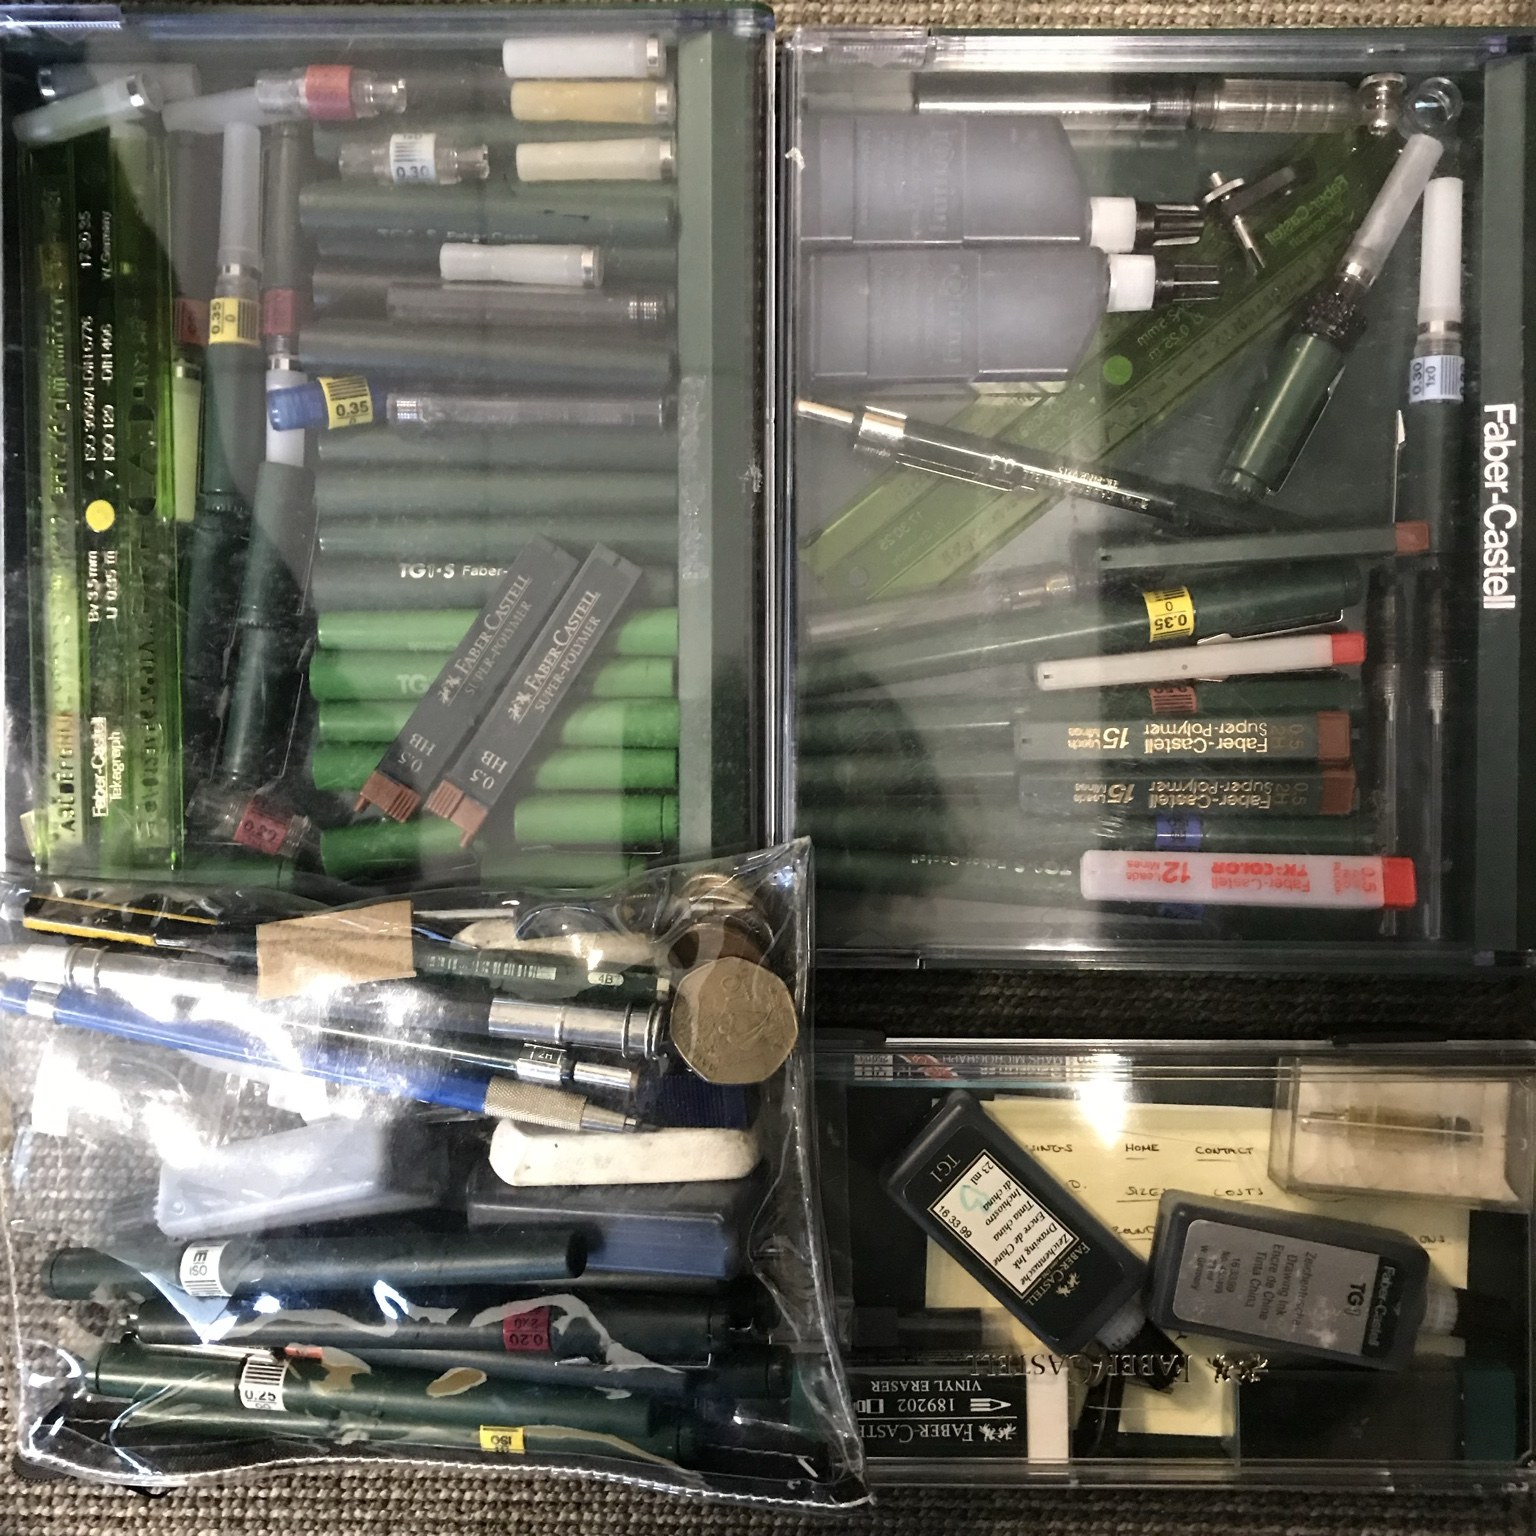
Years of pens, nibs, pencils, erasers and spare parts.
The surface changes the way I draw.
Paper is not just something underneath the ink. I can feel the difference through the pen, and that changes how I move.
Hot pressed
Smoother paper can produce sharper, cleaner lines. For the right drawing I like that precision, but I also find the surface less forgiving. The nib moves very freely, which can make a curve happen faster than I want it to.
Cold pressed — my usual choice
Cold-pressed paper is more absorbent and has more texture. That creates drag: a little extra resistance against the nib. For me, that resistance slows my movement and seems to give me better control. Curves often feel smoother because I am forced to make them more deliberately.
You notice it as soon as you start inking. It may simply be the way I perceive control, but that slight resistance has become part of the way I work.
The tool matters less than what it lets me do.
A BIC or ordinary ballpoint can work too. I have used all sorts of pens when the mood takes me.
The danger is sometimes what happens afterwards. I have ruined drawings before while rubbing out the pencil construction underneath the ink, so the eraser stage deserves more respect than it gets.
That is why my process stays deliberately uncomplicated: pencil to work things out, eraser when it is safe, then ink to build the finished image.
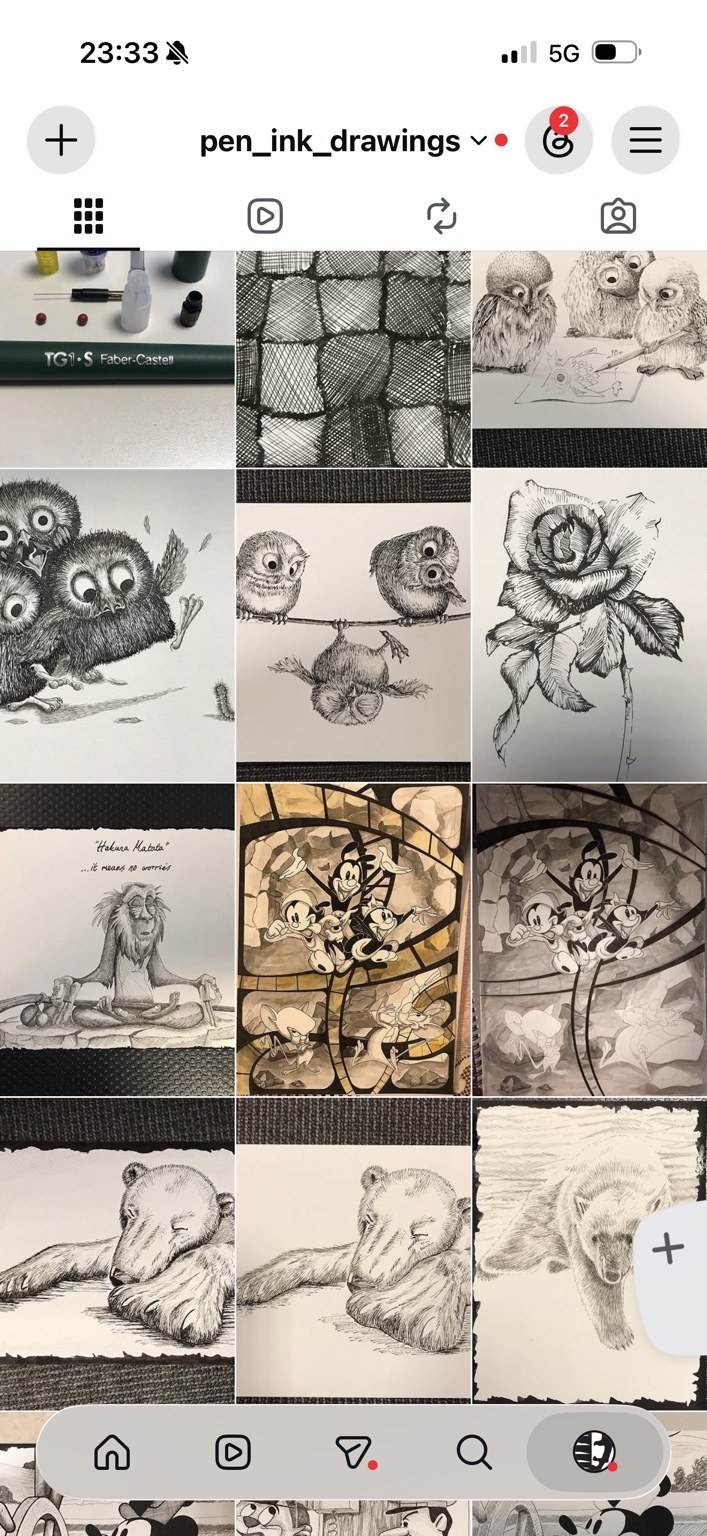
The simple tools eventually become the finished work.